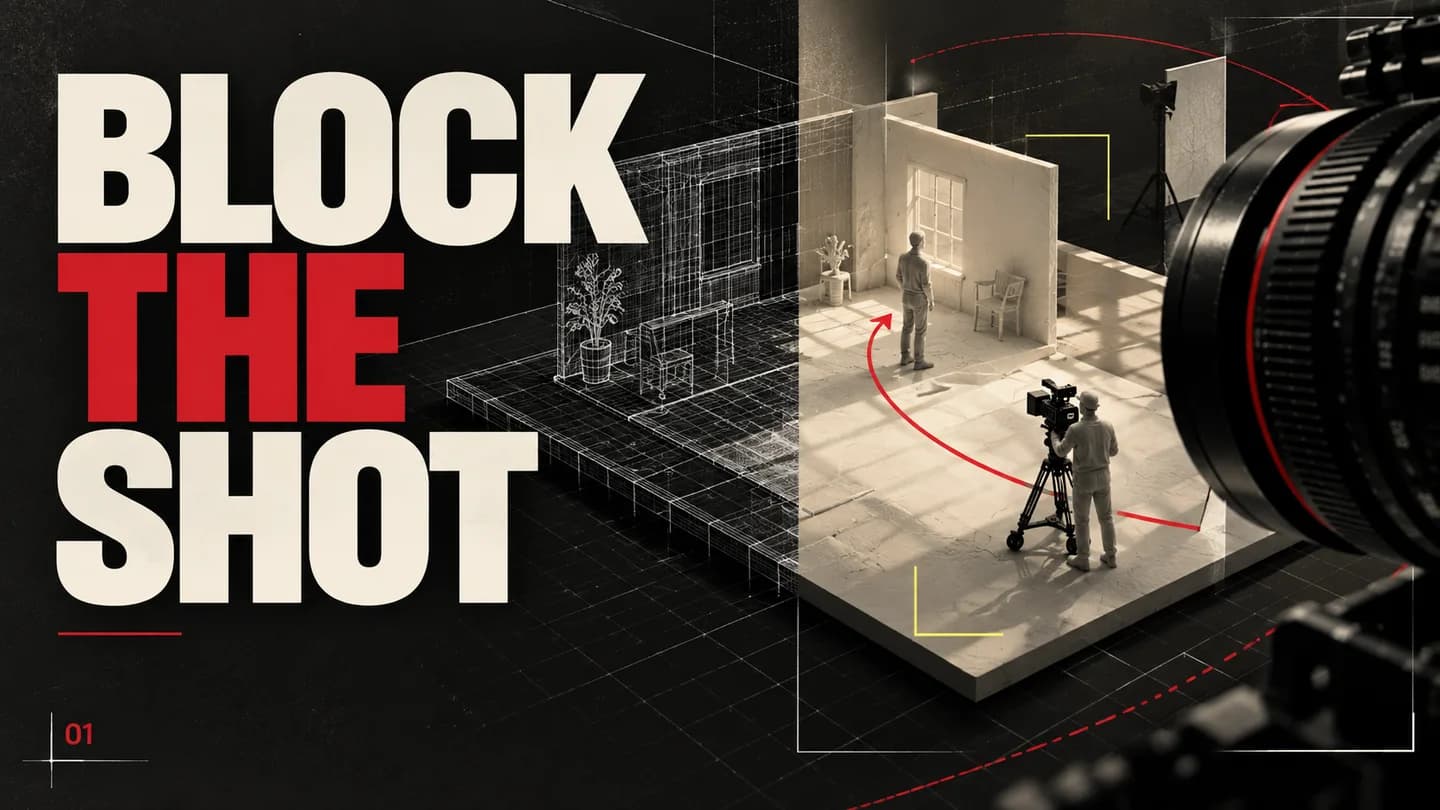
The expensive mistake is a beautiful shot that does not cut
A camera glides around an actor. The light looks gorgeous. Then the next shot arrives, and the actor is looking in the wrong direction. The image works; the scene does not. Previsualisation exists to catch that problem before a production commits to expensive detail.
For a beginner, the breakthrough is not instantly becoming a 3D artist. It is being able to make a rough scene that answers useful questions: Where is the character? What can the camera see? When does the reveal happen? This is a proposed production exercise, not a claim that we have benchmarked these models against a professional previz team.
What the tools actually contribute
Anthropic positions Opus 5.5 as a coding and computer-use model. Blender exposes scene operations through Python. ByteDance documents clay-render referencing in Seedance 2.5, including blocking and camera movement. Put together, they suggest a practical route from a written brief to a controllable reference.
The important distinction: a generated reference is not an interchange file containing your exact Blender camera transforms. Treat the output as an interpretation to evaluate, not a solved camera track. A model can help draft a script; you still need a compatible Blender version, a working render and someone reviewing the frames.
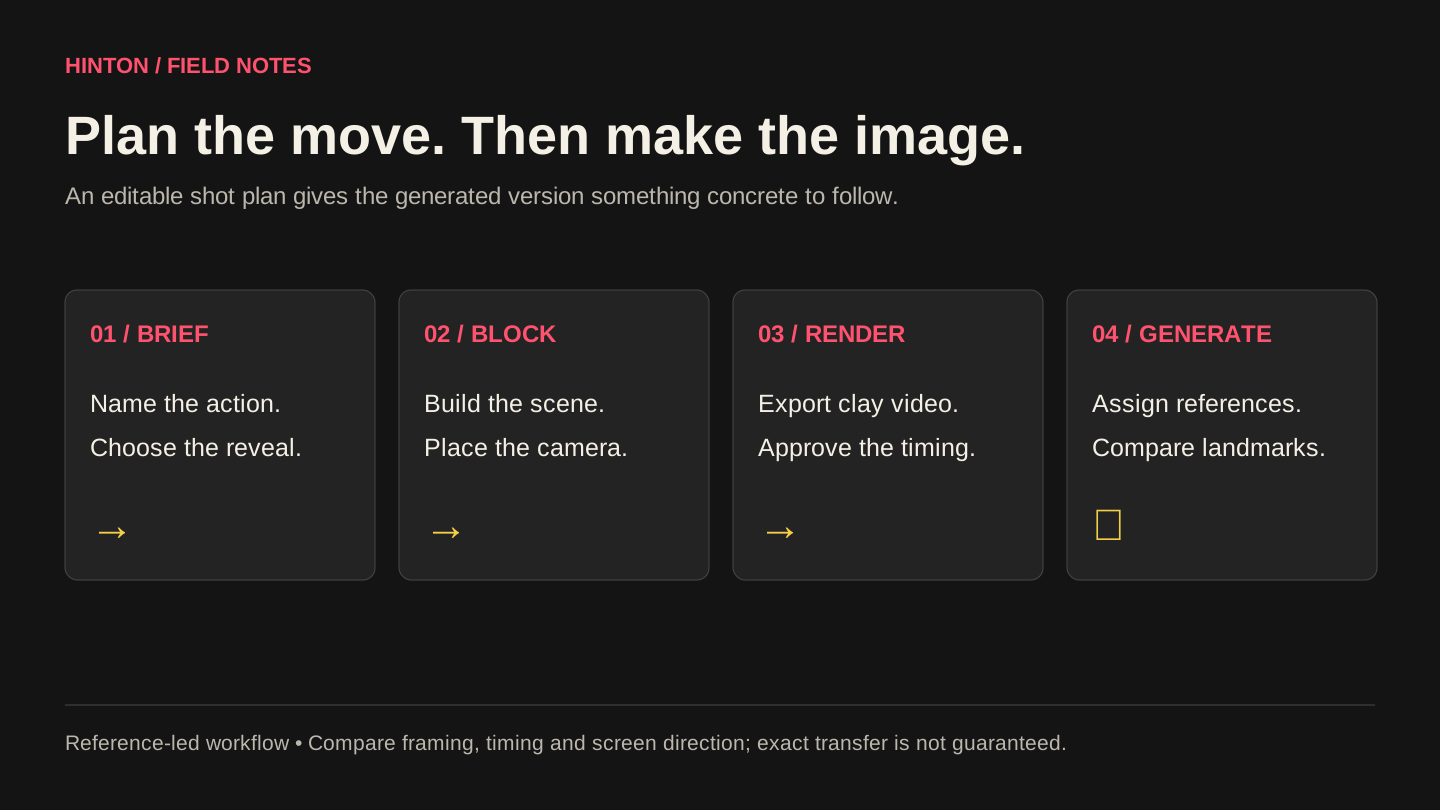
1. Write a shot that can be built from five objects
Start with a six-second reveal: a person walks past a doorway while the camera moves sideways to reveal a product on a table. Use a floor, wall, doorway, table and simple character stand-in. Do not ask for realistic skin, elaborate clothes or a detailed city. Those details make it harder to judge the thing you are testing.
Choose the frame shape before the camera move. A portrait ad and a widescreen film need different staging. Write the opening composition and final composition in plain English, then decide which subject must remain visible between them.
Try this prompt · adapt to your project
Help me build a non-destructive Blender previz script for my installed Blender version. Create a new collection named Shot_01; do not delete existing objects. Use simple clay primitives: floor, doorway, table, product stand-in and character. Set 24 fps and frames 1–144. Start with the doorway obscuring the product; move the camera sideways to reveal it by frame 120. Keep the character on screen. Expose camera height, travel distance and timing as named settings. Explain how to run the script, inspect its keyframes and undo it.
2. Make Blender readable before making it pretty
Run the proposed script in a copy of your scene and inspect the result in camera view. If it fails, give the assistant the actual error and your Blender version. Ask it to fix the smallest failing part. Repeatedly replacing the whole scene makes debugging harder and can hide accidental changes.
Scrub the beginning, middle and end. Check feet against the floor, camera clearance, screen direction and the moment the product appears. A subject passing behind a wall is a blocking problem, not a prompting problem. Fix it in the controllable scene. Save the approved project and render a low-cost reference with simple materials. This reference is your visual agreement about what the shot must do.
3. Give movement and appearance separate jobs
In the Seedance interface available to you, attach the clay render as the motion and composition reference. Supply a separate, rights-cleared style frame for appearance. Assign each input one job. A finished-film reference full of unrelated actors, lighting and editing can introduce more ambiguity than it removes.
Try a focused instruction: “Use the clay reference for camera travel, subject position and reveal timing. Use the style frame for surface materials and lighting. Keep the doorway reveal and the final product framing.” Avoid asking for a faster camera, different blocking and a new set in the same revision. Reference labels and available settings vary by host; use the labels shown in your interface.
4. Compare landmarks, not just atmosphere
Place the reference and generated clip side by side. At the start, midpoint, reveal and last frame, compare subject position, horizon, occlusion and screen direction. Check whether the movement supports the edit. If the product changes shape, use an approved product asset or a conventional composite for that element.
Keep a brief review sheet: intended moment, observed deviation, proposed correction. This makes the next iteration specific. If exact geometry, repeatability or client revisions are essential, retain the 3D render as the production source instead of forcing a generative clip to behave like a renderer.
Where Hinton can help
Bring a script page, a rough sketch or a difficult transition. Hinton can scope storyboard development, camera blocking and a short proof of concept before the full film. The useful deliverable is an approved sequence with clear decisions—not a folder of unrelated attractive frames.
The beginner exercise is deliberately small. Once you can explain why the first shot works, add a reverse angle, an eyeline match and a cut. That is how a camera move becomes filmmaking.
Research checked 27 September 2026. Product details can change. Workflow examples are editorial suggestions, not performance benchmarks or guaranteed results.